28 September 2020

A September Yarn

Posting a little before the end of the month as David and I are going away for a couple of days.  Our first break away since the beginning of March, when things were getting ‘iffy’ before lockdown and wondering if we were going away. 

Not much sewing has taken place recently other than a couple of blocks for Siblings Together sewing bee, which has been pinwheel blocks 

One block produces extra to make a smaller block in reverse order, so two blocks for price of one!
I made a letter postcard combining Drunkards Path for the letter D.  Simple idea, but took a while in getting my thoughts turned into patchwork. My first attempt didn’t work, it looked lost in a snowstorm! 
My Youngish Quilter quilt is now finished and I’ve hung this on the rail in my room and it goes really well with the green wall.  It is proper finished with hanging sleeve and a label. Youngish Quilters 


If proof is needed, here’s the label.  I used t-shirt transfer paper onto plain green fabric.  There was too much detail I wanted to include to write on the label, so this was a bit of a cheat.

A bit more has been added to my Sew 4 the Soul, but I will leave posting about that for another time. It’s slow stitching and things are going slowly.

I have progressed my knitting, so I now have a back and two fronts on my cardigan and have started on a sleeve.  I decided that the right front would have a pocket, so I took the pocket and pocket top instructions from an old pattern (1980’s) that I had and it worked well with this addition. The pattern is Stylecraft Bellissima with a chevron pattern at sides and on the sleeves.  The yarn is Stylecraft Highland Heathers Thistle.

The evenings just don’t have the light to work on the cardigan, so I started on the Aria blanket and love how the colours are working on this.  The ends are showing on the 5th row and I should sew in end of each block, but I crochet a few blocks then sew ends in. The Aria blanket is designed by Lucy of Attic 24 and the pack and instructions from Wool Warehouse

I’m afraid to say with these two largish projects on the go, that my socks have been neglected and there’s been no further progress from my last post, but I will get to work on it soon.  The pattern is the Seedhead Socks by Vikki Bird Designs.  The yarn is by Strawberry Fields Yarns and I love the speckles in this yarn ad I didn’t want anything too patterned.

Well I have plenty to keep me busy.


16 September 2020

All About the Yarn

 I felt the need to be making another cardigan for the autumn (will probably be the winter now) and bought some purple yarn from my local wool shop,  Not Just Wool, where there was a new Stylecraft yarn called Highland Heathers in a lovely deep purple.  I’m not far off the armhole shaping on the back. I’m using the same pattern as for my red cardigan with a diagonal stitch pattern at the sides. 

I mostly knit on circular needles, even for flat knitting as when I do travel knitting I don’t have to worry about dropped needles.  I started this cardigan a week and a half ago, but I also stated another cast on - this time another pair of socks! On Sunday I found some hand dyed wool with sprinkles of colour which would come in useful for another pair of Seedhead socks, this time with the Seedhead pattern!


So I’m left with a choice of which project to work on!  Not only that I made another yarn purchase...

Another Attic 24 blanket! I do have someone in mind for this, but the blanket pattern “spoke” to me as I have fond memories of my Nan making crochet Granny Square blankets for the “old folk” who were often younger than she was! I loved the colours and so did my granddaughter Flo, who delighted in taking the balls of yarn out of the bag and telling us what colours they were.  She already has a mini Dahlia blanket.

I think this little lot will keep me busy for a while.


05 September 2020

September


This month is starting quietly.  It may be a new term and students will be going back/starting their education after a 6 months + hiatus due to the virus, but groups and other social gatherings are not ready to start this month though and some are smaller to accommodate social distancing. So times are still a bit strange.

Last week David and I managed a day out at Stourhead in Wiltshire and a nice ramble around the grounds and enjoying the scenery.  There was a one way system on th footpath to follow and we had to pre-book before going there (checking that the weather would be ok for that day!).  But it was somewhere we hadn’t been for a few years so nice to have a change of scenery


This week I have been working on my toe up socks and have now finished the second sock.  The patterning of the self striping yarn has worked out well.  The pattern is by Vikki Bird and called Seed Head socks and there is a pretty pattern panel running along the front length of the socks.  I decided to knit my socks without the pattern but just as plain toe up socks and I can say this is the most successful toe up socks I’ve made so far and fit really well.  Please excuse that I haven’t yet sewn in the ends but here’s a “sockfie”

As this was a self striping yarn the seed head pattern would not have shown up, so that’s why I kept the sock plain stocking stitch.  So I’d like to get some plain coloured sock yarn to be able to follow the seed head pattern.  

There were references to techniques like Judy’s Magic Cast On for the toe stitches and Jenny’s stretchy bind (cast) off for casting off the cuff stitches.  I also followed the instructions for the short row heels, but there also instructions for the gusset and heel flap variation too for a higher instep.  So it’s a very good detailed pattern and I’d make these again.


The yarn I’ve used is from stash and I’ve had it a few years so there was no label, but I have a feeling it may be a King Cole one . There was 80 grams of the yarn and I had 26grams left, so this has taken 54 grams to make.  I do have small feet and using the short rows instead of working gusset increased stitches probably used less yarn. 

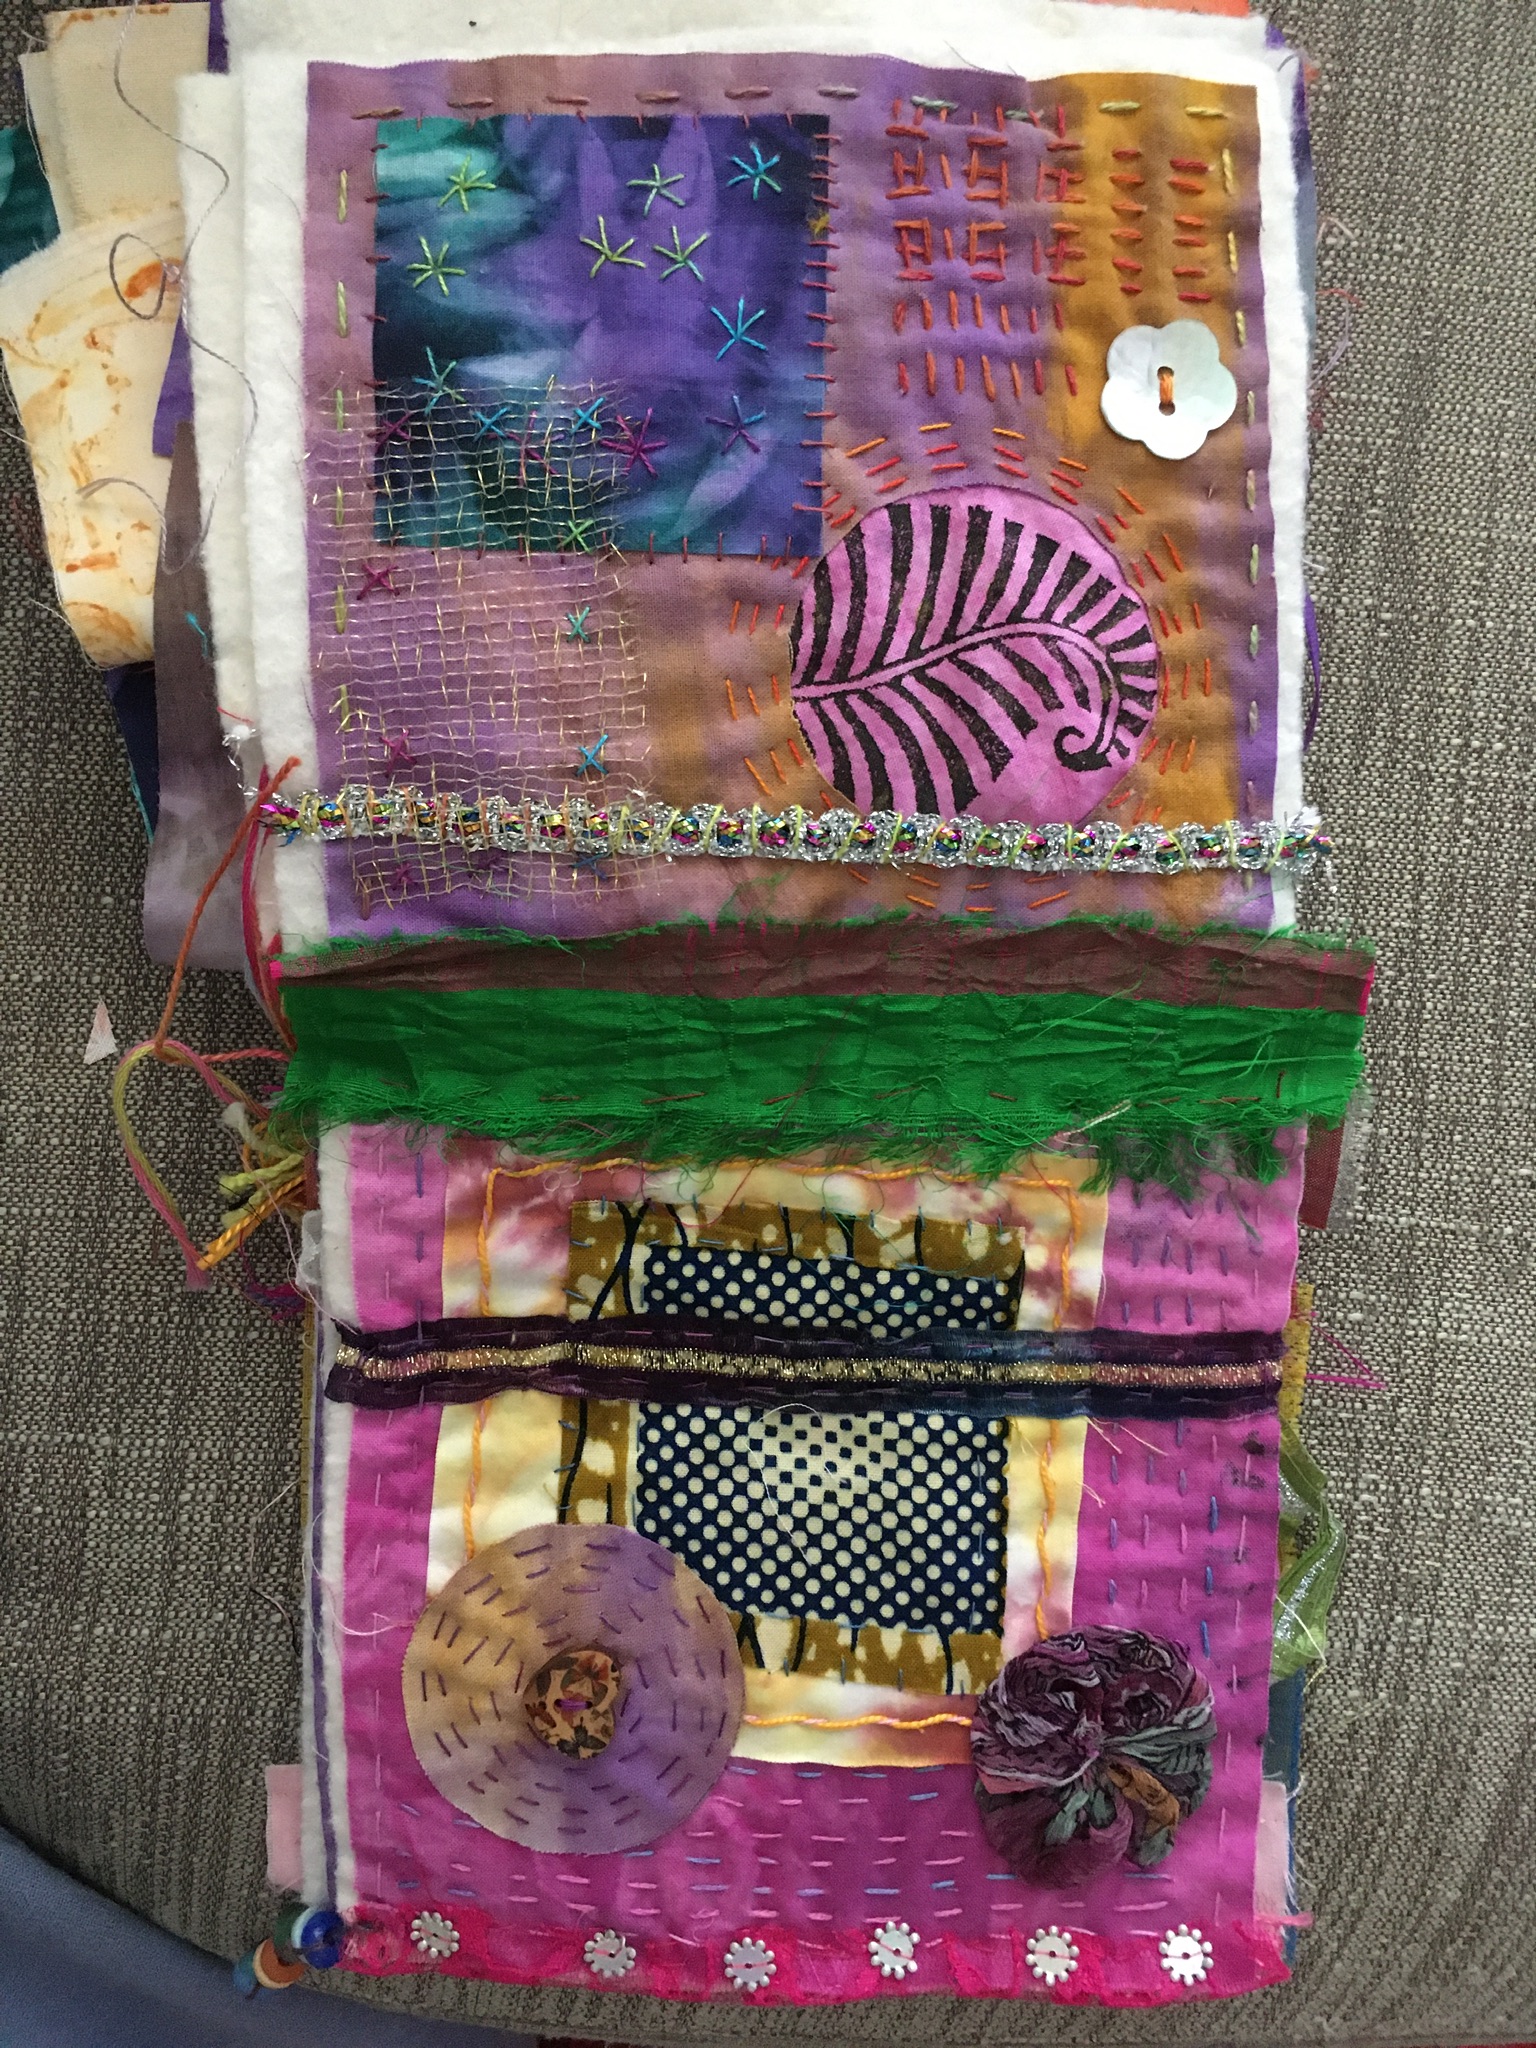
I’ve also been working on a mini Sew 4 the Soul book.  I thought I would just get the basic bits done but ended up finishing the whole book. It consists of a strip of 12” x 4” calico as a base and folded concertina style to give 6 little pages. 

The pics below are in the wrong order (grr)
Pages 5 and 6
Pages 1 and 2
The cover
Pages 3 and 4

I’ve used some hand dyed felt for the cover but as the middle pages stick out slightly I added some lace under the front of the cover,  I will decorate that a bit more, but I am pleased with the pages. It was also a nice gentle bit of sewing of an afternoon.  I’ve yet to add the pocket on the page in the larger book to add it to.  The project is inspired by Anne Brooke of Hannemade

So that’s been my ramblings for this week.  Have a good crafty week,


31 August 2020

An August Furtle

 For a 31 day month, August has disappeared really quickly - where did it go? With autumnal temperatures and being the first tomorrow it seems like summer is on the way out. 

Anyway, I haven’t posted much this month, but I have been kept busy as usual.  I’ve got two finished quilts, one of which is a fleece backed one for Project Linus, which I made in a couple of days.


And my second one, not sure where it’s going yet, is this green and red one that was made from leftover blocks from another quilt.  Both of these can be read about in my last post.

I worked on my Daisy the Herdwick sheep, and made her some knickers and a dress too. The photos have loaded up in the wrong order, even though I clicked to get them in the right order!

Daisy the Herdwick 

With her dress and knickers (she’s properly dressed)

Sharing the sheep shelf with the rest of the flock


And making friend with Luna

 I think I’m getting a slight addiction here.  I bought second book of Luna Lapin and friends series and there may be another animal, and certainly more outfits for Luna and Daisy. There is also a Facebook group which I joined last month Lunas are breeding almost like rabbits!

There’s been some progress on my Sew 4 the Soul book, which I may dedicate another post to next month. I’ve started on another two pages, which may take a little bit longer to complete,  but I have sewn together 
The first two sets of pages.


And then this week there’s been some sock knitting action going on.  I had a turn out of my yarn stash and found some purple yarn.  No label as I bought it some years ago, but it was self striping sock yarn and I had 80 grams of it so it was enough for a pair of socks.  I’ve tried unsuccessfully to make toe up socks and I bought a pattern last month from Vikki Bird Designs for the Seed Head socks.  Now the seed head pattern would have got lost in self striping yarn, so decided to omit the pattern but use the toe up instructions which have been very comprehensive.  I finished my first sock yesterday evening still leaving the markers in so it’ll help guide me with the second sock.


I found that not only do the needles match with orange of the stripes, but the maker for the front toe of the sock almost matches the sock itself! Anyway, the first sock fits really well. I look forward to making another pair in a solid colour so I can use the seedhead pattern.

So linking up with Mini Archie’s tour around the Blogosphere this month, here

(Sorry, you will have to use the link above this month - I can’t get Blogger to cooperate!)


17 August 2020

August Catch Up

Now its halfway through August its time for a bit of a catch up.  We're now getting out and about a bit more and now eating out too at local pubs under the "Eat Out to Help Out' scheme once a week now. Seemed a bit strange at first, when we first ventured to a carvery in Worthing when visiting Alex and family but getting more used to the new normal.  Also getting to see more of the people we know too. which is great.

So what else have I been up too?  I bought a book and kit.  This is the third book in the Luna Lapin series, by Sarah Peel of Cool Crafting

I could not resist the Herdwick sheep, Daisy and when I learned that the book with the pattern for her and her friends was due out at the end of July I put my order in.  It came in a few days!!  So far I've only made the legs and arms but will hopefully make the rest of her this week.

I've made a couple of small quilts too.  One has gone to Linus and I also donated some fabric that I'm not likely to use. The backing is composed of 2 pieces of fleece fabric that I had left over from other fleece backed quilts made previously. I took the photos in my friend's garden, as I was slip stitching the binding while visiting her! She didn't mind as she's a quilter too. As you can see from the pic below I ran out of binding fabric, so a piece of the dog print was added to it.  I like this effect and might try that again.


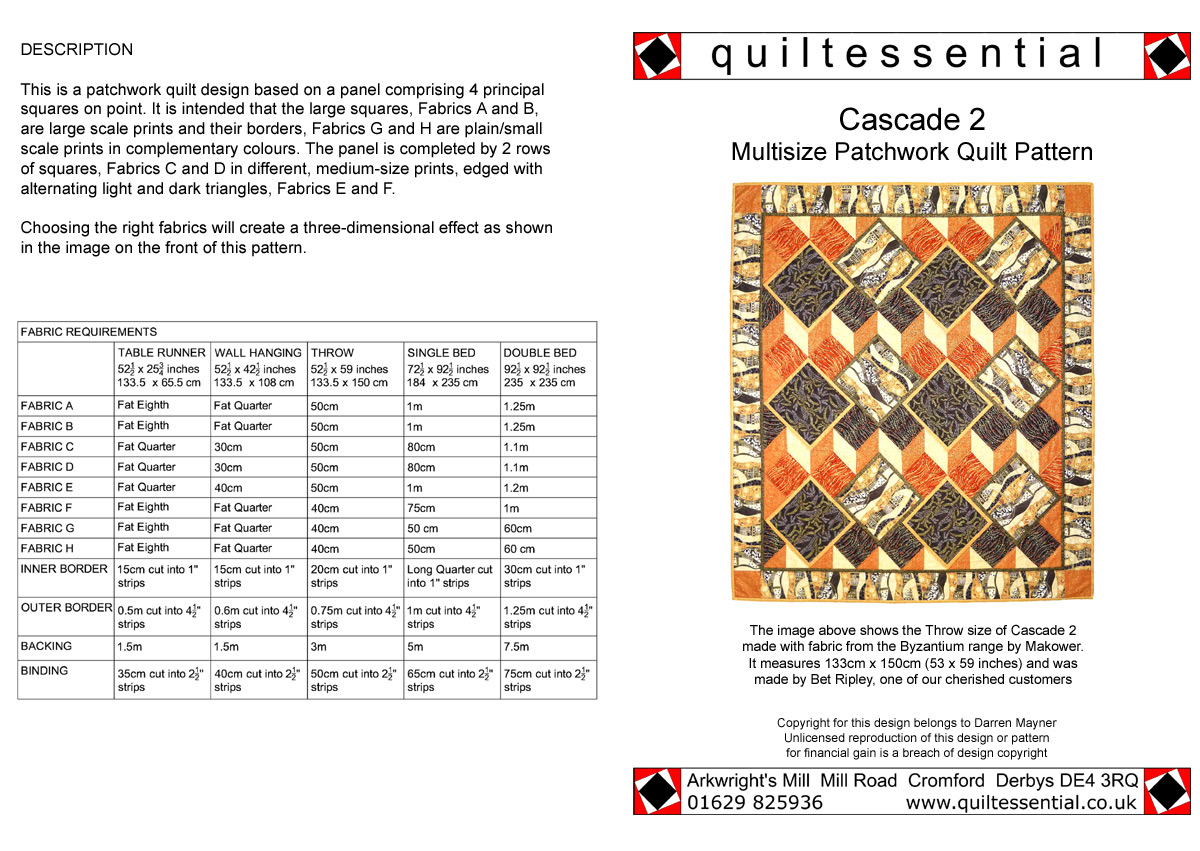
I had a turn out of drawers where I keep my fabric stash and pulled out a couple of packs of unfinished quilts.  This quilt was from our days in Yorkshire over 10 years ago!  Last year I put together the pieces to make a long quilt hanging from most of the pieces but the quilt was meant to be wider. A mistake in cutting the triangles and not being able to get more of the cream fabric at the time meant it became a UFO. I think the nearest to this is Cascades 2, but hung sideways, as this was to fill the stairwell of the house we rented at the time.

So I re-arranged the remaining pieces and re-cut some blocks laying them out on the floor (I don't have a design wall - so its either the floor or the bed in the spare room!). I had some green fabric that went well with the other blocks and instead of border and binding I did a wide border instead.  I'm pleased I've got one less UFO.  I’m left with tiny pieces of the fabrics now, so they will go in the scrap box (that needs sorting too).


Just look at the mitred corner, not bad is it? The mitres worked out just right. 

On Saturday 15th August was Granny Square Day.  For those unfamiliar with the Granny Square, it's a crochet square made from clusters of treble stitches which are either made as small squares joined together or one large continuous square.  Click on the link above and there's an explanation.  I have fond memories of my grandmother making large square blankets having been donated wool to make the blankets for the 'old folk', who, more often than not, were older than she was!  Anyway here are my blocks 

The corner 2 corner Granny Square 

The Sunflower Granny 

So I had a go at a Sunflower block from Sew Happy Creative (who did a rainbow sunflower, so pretty) and a Corner 2 Corner block from Simply Crochet  Magazine, which I read through the Readly app,  There was a really big collection of photographed granny squares on Instagram.

I’ve discovered a new to me You Tube video channel called Suzieqmakes, a crafter who lives in Devon and dabbles in sewing, embroidery, journal lingo and cardmaking. I found this through searching for Sew 4 the Soul videos as she is also taking part in this.  I will update later on my progress on my Sew 4 the Soul book.


09 August 2020

Rulers

I thought this month that I’d focus on technical stuff.  I saw on UKQU Facebook group that people ask for recommendations for various quilt making items.  I think that it is an individual thing because of what quilters make and how they work.  Over the years as well as amassing fabric, I’ve also gained a lot of tools.

So for this post I will be looking at Quilting rulers.  Starting off with the first ruler that I had along with my first cutting board, then I went larger with both. I’ve placed my rulers against the wardrobe door. The original ruler is 2nd from left.  You will notice that I have washi tape on the ruler as I marked where I had cutting lines. From left to right are 24” x 6”, 18 x 6”, 12 x 6” and 8.5” x 4.5”.  The last one I find really useful when cutting small shapes and especially when trimming postcards.
Another type of ruler is the square ruler and I have 2 sizes, 6.5” and 12.5” for squaring up quilt blocks. 
Recently when cutting strips for my friend, she had a June Tailor Shape cutter, which has slots every half inch for a rotary cutting blade.  Having found this useful I bought one myself from Amazon and it is so easy for strip cutting and as you will see it has angles like most rulers have, so it’s useful for cutting bias strips. All the rectangular rulers are stored in between the fabric boxes so they are accessed easily.
I also have some specialist rulers too, which I’ve gathered over the years.  These are mainly different type of triangle ones. They don’t seem to be used that often but they do have their uses. 

Here are my collection. I’ve put these shapes on my block board, so please excuse all those threads!
First is my 60 degree equilateral triangle ruler.  Again, I found that placing washi tape is useful for marking and it also identifies that it’s my ruler. Comes in handy when at workshops.
Above is a 2 peaks in 1 ruler, turning around for the half triangle. This may look a little like to the 60 degree one, but laying one on top of the other the angle is narrower- it’s 57 degrees. Often used for rectangular shapes.
 
The above pic shows a half square ruler, an Easy Angle ruler, which I don’t use often the markings are on both sides of the ruler.  I also had a free one from Today’s Quilter from a few years back.

A few different rulers this time. At the bottom is a Dresden plate ruler, which is found useful for tumbler blocks too when using the wide end measuring up.  There’s another washi tape marker.  I’ve also got a hexi ruler, but unfortunately it measures the height of the hexi not the side measurements. 

I’ve got a couple of rulers that I bought on a whim, but are hardly used and these are half circle and half heart.  I find them easier to use with a pencil in the slots then cut with scissors or free rotary cut.


All the shape rulers are stored in a small Seasalt hessian bag along with their instructions.

So that’s my ruler collection.  How do you use yours?