25 July 2018

How I Make My Postcards


I'm back with a tutorial of how I make fabric postcards.  If you've regularly read my blog you will know that I enjoy making these and have several try-outs in a small folder to try different techniques.

When I made the second sunflower postcard I took the time on Sunday to take several photos.

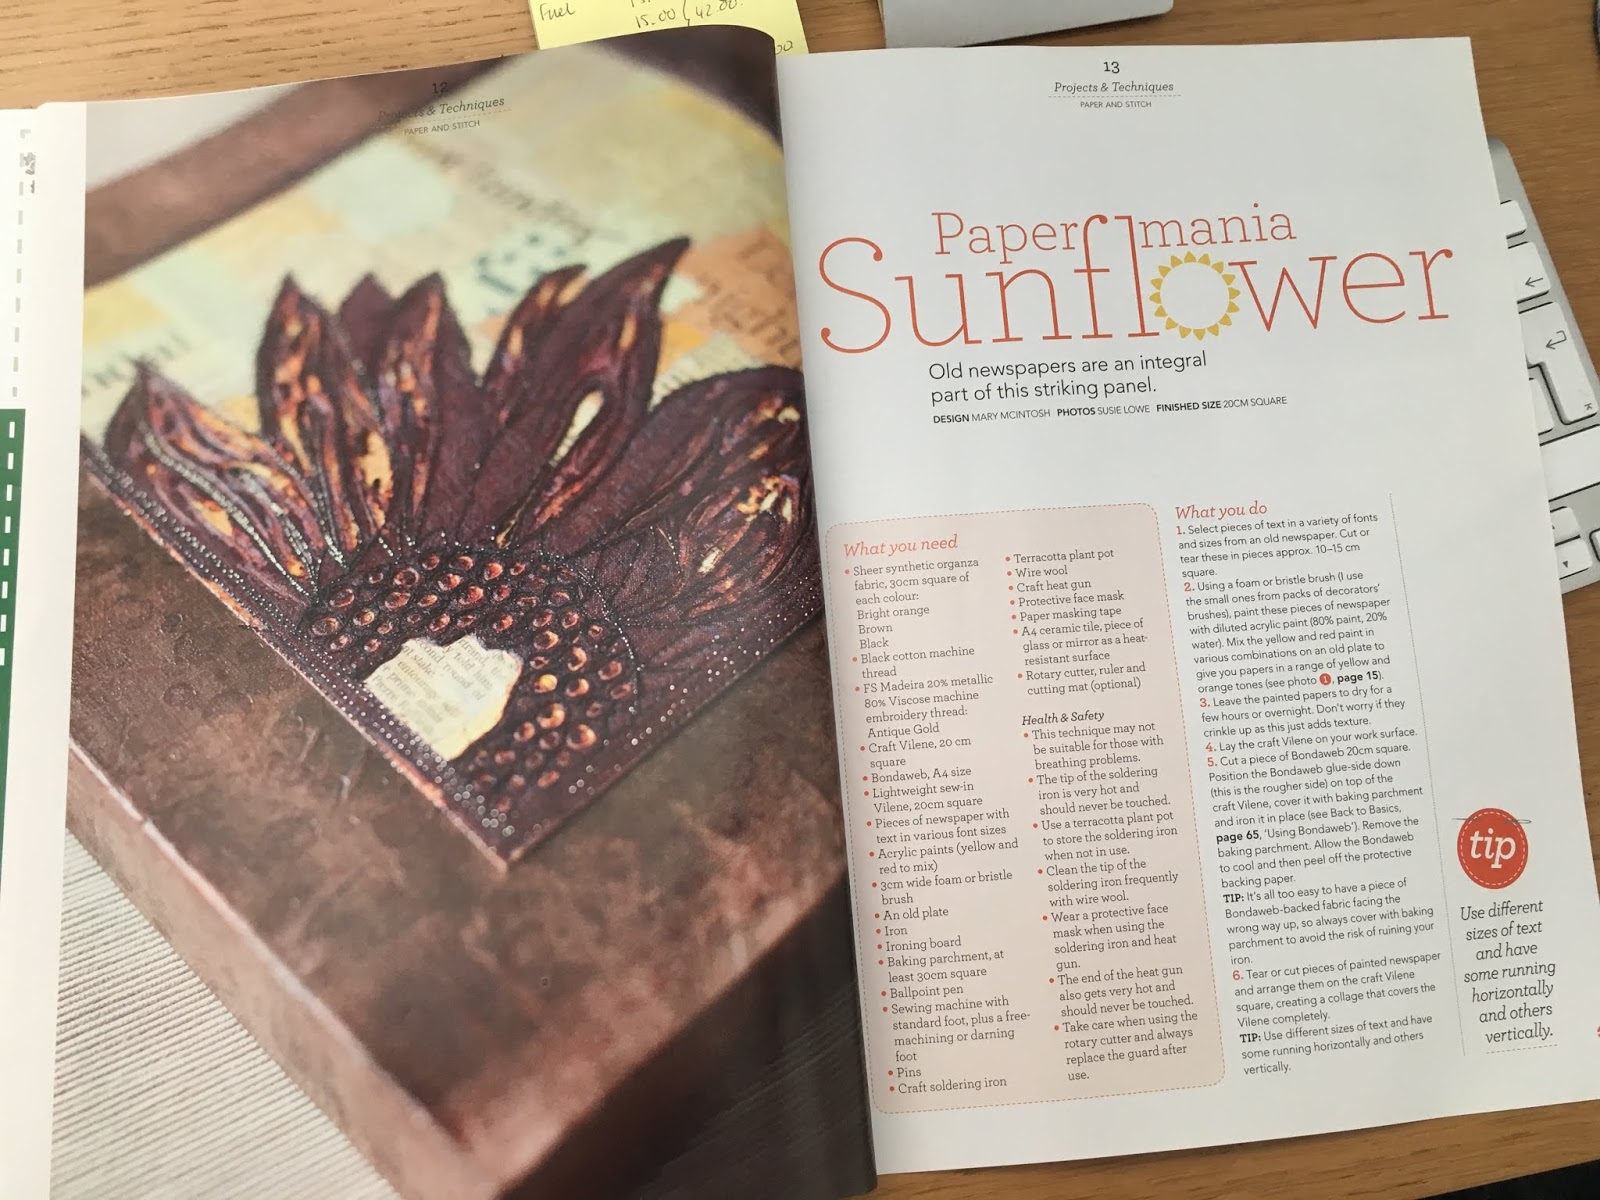
What I would normally do is design the front according to the theme of the swap back that with a fusible, like Bondaweb.  Pelmet Vilene is used as a stiffener then another fusible layer onto which a pale fabric is fused to provide the back to write on. I make my cards bigger 6.5" x 4.5" then trim down to 6" x 4".

Here we go:


I would usually keep the front flat, but some backgrounds call for a bit of quilting so I've taken my background fabric and quilted with a variegated blue thread.  There is a thin layer of cotton wadding but felt will also do.  To give the effect of wispy cloud I used a white watercolour pencil and lightly brushed the wet pencil over the fabric.

I put fusible on the back of the fabrics for the flower

Then drawn some 'bottle' shapes for the petals and cut out

I used a cooking liner (you can used baking parchment) on my ironing board to arrange the petals and  when happy with the arrangement I will press the pieces


This will just peel off and to be ironed onto the background as the fusible's glue is not affected by pressing onto the liner.

Then I will sew the appliqué pieces using normal straight stitch and open toe foot.  The brown fabric is zigzagged around the rounded edge and then free machined in the middle. I'm afraid its the same colour thread to the sunflower centre so can't be seen easily (and it was difficult to see to sew too!).

Next step is to turn over and iron the fusible, then the pelmet Vilene, another layer of fusible followed by the fabric for the back of the postcard. 

After that time to trim.  I make postcards 0.5" bigger so I look for where it is best to trim to bring the size down from 6.5" x 4.5" to a standard 6" x 4".


When I am happy with this then I use a close zigzag stitch to close the edges together,  I will go around the perimeter of the card twice, on the first time I reverse stitch when I get to the corners.

I sometimes find there are wispy bits of thread from the fabrics but they get trimmed off to tidy up.

The finished postcard


And the back.  Its pale enough to be able to see writing done on the back.

I write on this using a gel pen, but sometimes a pigma pen or even felt tip.

Unless there is a lot of embellishment I would make postcards to be sent in the post as is like a normal postcard would.  If there is anything that is likely to catch in the postal machinery I will put the postcard inside a cellophane envelope.

I hope you've enjoyed the tutorial (just hope I've covered everything!) and if you have any queries or comments just drop a line in the Comments.

Would You Like a Postcard?

I made one fabric postcard for a 'swap with a difference' for UKQU postcard swap.  Postcards from members of this Facebook group will be on display at the West Country Quilt Show at the end of August before being sent to swappers.  The theme was Spring and Summer and I opted for a summery postcard.

The weather here has been hot and sunny with really clear blue skies and I had just the background fabric which I had 'dyed' with fabric paint quite some time ago.  My inspiration came from an Issue of Stitch magazine from 2015 with a design by Mary McIntosh which showed a corner view of a sunflower, although the techniques were very different to what I was doing.


This was the card that I made and sent to the coordinator of the swap.


I enjoyed making this so much that I made another!  Here they are, the second one is on the left


IF YOU WOULD LIKE THIS POSTCARD THEN LEAVE A COMMENT AT THE END OF THIS POST!
The closing date is 31 July - and will announce the winner on 1 August.


I took time to take photos for a tutorial so I will post about this soon.

17 July 2018

One Finish and One Start

I'm pleased to say that I've finished something (well two really, but that's secret sewing which I can't show this time).  I have been working on a Kantha stitchery which I've had since last October when a friend bought me a kit.  This is the vase of irises from Fenland Textile Studio.  After the talk and workshop in which I made a hare picture, here, last year.


All washed and pressed ready to go into a frame, when I get one, so the taking stitches have been left in around the perimeter of the embroidery.  It's been a bit of slow stitching to take with me to Bourne Quilters and to Seahorse Quilting's sew and natter over the past months.  I finished this off when sitting out in the garden when its been to hot to sew indoors.

But I didn't have to look too far for another slow stitching project to do as I'd been seeing Tales of Cloth's blog and the sew a long called the Kingfisher Quilt.  These are hexagon flowers sewn onto diamond shaped background pieces.  I've kept to neutral low volume background fabrics and going through scraps to cut 2.5" squares for hexagons with 1" sides.  I have a good stock of paper shapes which I've mainly got from Lina Patchworks that are made of a heavy paper and can be used over again.

The first three I did earlier yesterday


By yesterday afternoon I did two more. The photo above was taken in the evening so its a bit darker.

I have got a little box with hexie shapes already prepared together with thread and scissors, a 2.5" square ruler and a thimble.  I had tacked the fabric to the papers, however I've now taken to using a fabric glue pen which is a lot quicker and just holds until I've sewn the shapes together and is easy to remove the paper after.


Over the years I have had a sore middle finger on my right hand with hand sewing and I've been trying various thimbles, pads, sticky tape, whatever.  I have small hands but I seem to fall between small and medium sizes and it's been difficult to get the one. This is a Clover soft plastic one in a small size which I bought a few years ago but tried this again on Sunday and it's comfortable!  So I am converted to this! I can't remember where I bought it from but I know that Hobbycraft sell quite a few Clover sewing accessories.  I may get another one in case this gets lost.


As well as machine sewn items its always good to have some hand sewing on hand and with the hot weather at present this project just fits the bill nicely.

Lets see how far I get with this...

09 July 2018

Finished and Gifted

A short post as its too hot to sit by the computer for too long!

It was my daughter-in-law Carly's birthday near the end of last month and my grandson Leo's birthday today so David and I caught up with them yesterday and had a barbecue following Leo's birthday party earlier in the afternoon.

Last Christmas I made my granddaughters Harry Potter themed jumpers which I blogged about here
Leo was just getting into the Harry Potter books and was disappointed not to have one too so I decided to make one for his birthday.  What else do you give someone with a summer birthday!!

Anyway he tried on this morning and was really pleased so now I can show photos


This is basically school jumpers (a Stylecraft pattern) made with Stylecraft Special DK acrylic in Claret and Gold colours.  David sent off for the Gryffindor badge, which sent me into a panic as I thought I lost the badge!  But found and sewn on as soon as it was finished and washed.

Well thats 3 HP houses done and I've said if anyone else wants a jumper it'll have to be a Huffelpuff one as I haven't made those colours yet!

Carly is very clever at making small costumes for baby photo shoots and fancy dress for the boys' school events.  I felt she could do with some decent scissors so when I saw these fancy Fiskars ones I had to buy them, along with some smaller rose-gold coloured 'stork' scissors for trimming threads.  I made a project bag from Aneela Hoey's book to keep her sewing projects tidy and also it made a good gift bag. She really liked this and also really needed good scissors so it was well received.


I like it when a plan comes together!

04 July 2018

Solo Finish A Long

The second quarter of my self imposed solo finish a long (well it's solo unless someone wants to join me!).  I've got half my finishes done and half lingering somewhat, so here goes.

1. Woodland Crochet A Long Blanket - This CAL run by Lucy of Attic 24 finished a long time ago and I also stopped to knit other things so it had a rest.  Back onto it last night so will carry on in spite of the heat to get this done by end July/beginning August is my aim.  As it is its length is 45", 113 cm.
This is laid in half lengthwise and it really looks colourful, but see all those ends that need darning in!!  I should have done this as I've gone on, but hey ho sewing all those will keep me busy! So this goes on to Quarter 3

2.  Is the 16 square block quilt.  I've done this in teenage/boy colours of black/grey and orange/mustard and I like the colour combination.  The blocks have been arranged but not sewn together yet.  I have quite a few 3.5" strips left to deal with too, what could I do with them?  This is added to the list for Quarter 3.


3. Are the pouches - done and given to Project Linus for their charity sales table. I have done some more quilted squares and this afternoon I bought some more zips as all I had in my collection were short zips so I may have to do some that will use short zips.  But the pic below are some of the ones that were made from a couple of months ago.  So these are ongoing.


4. Was correcting a wallhanging, which is now finished and has been hanging in our hall for a while now.  I wanted to make a tree to go on this and I did it, labelled it and everything! A finish!


The story about this wallhanging is here. How I finished this off is here.

5  What I will also be doing are a few projects to gift to my room mate on Sewing Shinding which is a retreat that I will be going to in September in Telford (on my own).   I've been away as part of a group before but never on my own.  A new adventure and something really different and I am really looking forward to it.

My room mate is also a first time retreater who is retired so I am guessing a similar age to me but it'll be fun getting to know her.  So that is a new item(s) to add to my Finish A Long list.

6. Also new to the list is the Kingfisher Stitch a Long run by Jodi of Tales of Cloth.  She is an Australian  quilter who specialises is English Paper Piecing (EPP) as is a good way using up scraps into hexies and sewing them onto diamond shapes, which makes for an interesting quilt.  Its hand sewing and I'm often in need of a portable project.  This is another add to the list.

7. Talking of which another hand stitching project, that could be nearing its end, the way I am going with this is the Kantha iris kit.  I'm hoping for a finish this month.  Added to the Finish A Long list.

There will be more makes along the way as well as these items and already I am going to explore making more clothing for myself.  Yesterday I made a skirt from fabric that I bought at Sandown.


As well as having an invisible zip, making use of my new zipper foot, I also drafted out a pocket and it worked!

So that's my list for this quarter.

02 July 2018

Bletchley Park and Other Places

Last Sunday and Monday David and I took another trip to Bletchley Park before our annual ticket ran out before the end of June.  A few of the exhibits changed and it was good to go back and discover new things.  We stayed at the same Premier Inn on the outskirts of Milton Keynes overnight and travelled back home last Monday stopping at two places on the way.

I took a lot of photos from last year at Bletchley Park (although it seems I didn't post them on the blog last year!) so I didn't take many, but in the Mansion I was intrigued by the windows


Just look at them!  Aren't they EPP patchwork patterns?!

David pointed out this little reminder of Slough (where I grew up) in the classroom of the education centre.


As I said, on Monday we stopped on our way home to Nuffield Place in Oxfordshire, this was the home of Lord and Lady Nuffield.  Lord Nuffield was William Morris who founded Morris Cars in Cowley, Oxford.  Although they were wealthy the house was a modest size and was left to National Trust as it was in early 1960's.  Lady Nuffield was an accomplished needlewoman and there is evidence of her stitching around the house.

 She even had a sewing room


It even included children's dresses that she made.

Our next stop was at Cliveden, near Maidenhead, which has the odd mix of an exclusive hotel, restaurant and spa in the grounds as well as the National Trust looking after the grounds.  It is quite a large estate that we didn't get to seeing all there was there, however we saw the rose gardens which really looked and smelt fantastic this time of year.


 After a longish walk we viewed the gardens at the back of the hotel


The photo does not do this view justice, it was amazing.  But was was more amazing were these gilded gates under the balcony where I was standing


A-may-zing!!

It was the start of the really hot weather so we revived ourselves with an ice cream after taking a walk away from the hotel and heading towards the water gardens.

David was snapping away when I noticed some people looking at this heron.  This is a real one, not a fake.  To get its prey it stays still for quite a length of time before getting its fish.  I liked that I also caught the reflection too.

In spite of leaving there late afternoon and being concerned about rush hour traffic, we had a good journey back home.  It was lovely just to have those two days away.

Oh yes, I had to take a selfie, just to prove we were there.


My sunhat came in useful too!

Popular Posts